Pipe Leak Repair

Table of Contents

Are you dealing with an annoying and potentially dangerous pipe leak in your home?

Pipe leaks can lead to damage of property, mold growth, and wasted water—not to mention higher utility costs.

Repairing a pipe leak requires skill and expertise in order to ensure that the job is completed safely and correctly.

Fortunately, there are few steps you can take yourself in order to begin pipeline repairs right away!

Keep reading this blog post for more information on how to effectively tackle your own pipe leak repair.

Pipe Leak Repair

Understand the signs of a leaky pipe - dripping sounds, moldy odors, and wet spots on walls or ceilings.

A leaky pipe can cause all sorts of damage, both to your home and your wallet. But how can you tell if you have one?

Look out for some classic signs – dripping sounds, moldy odors, and wet spots on walls or ceilings.

If you notice any of these, it’s time to take action and get a pipe leak repair. Ignoring the problem can lead to more substantial damage, and ultimately a more expensive fix.

So, whether you’re a homeowner or a renter, it’s important to keep an eye out for any of these warning signs and act quickly to prevent any long-lasting damage to your home.

Shut off the water at the main valve to stop further damage and prevent flooding.

Dealing with a leaking pipe can be a stressful situation, especially if it’s causing water damage to your home.

In order to prevent further harm and flooding, it’s recommended to shut off the water at the main valve until a pipe leak repair can be made.

This step may seem small, but it can save you from costly repairs down the line.

It’s also important to call a professional plumber as soon as possible to take care of the leak and ensure that your water supply is restored quickly and efficiently.

Don’t let a small leak turn into a major headache – turn off your main valve and call a trusted plumber for assistance.

Leave contact details

Inspect the pipes for leaks and use a wrench or pliers to loosen any rust buildup or corrosion.

Water damage can be a frustrating and costly problem for homeowners.

One common culprit of water damage is a leaky pipe, which can slowly drip water onto walls or floors causing damage over time.

To prevent this, it’s important to regularly inspect pipes for leaks and address any issues promptly.

A simple way to solve the problem is by using a wrench or pliers to loosen any rust buildup or corrosion that may be causing the leak.

By taking care of your pipes, you can avoid the headache of water damage and keep your home in top shape for years to come.

Pipe Leak Repair

Replace any damaged piping with new PEX tubing, copper piping, or PVC piping using specialized tools and adhesives.

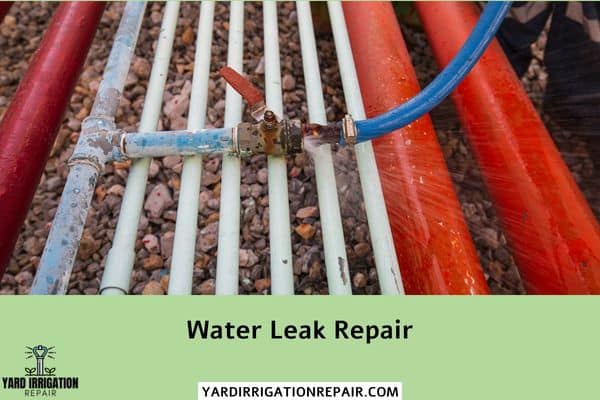
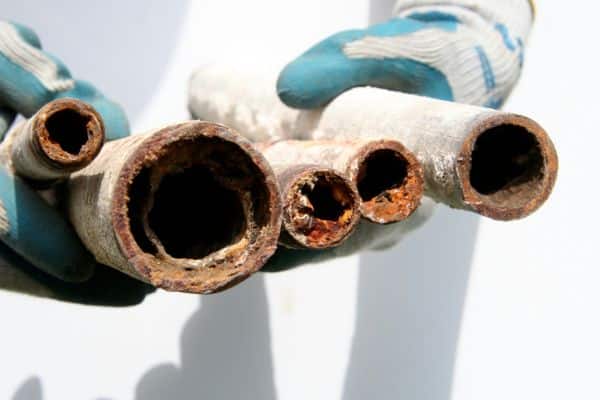
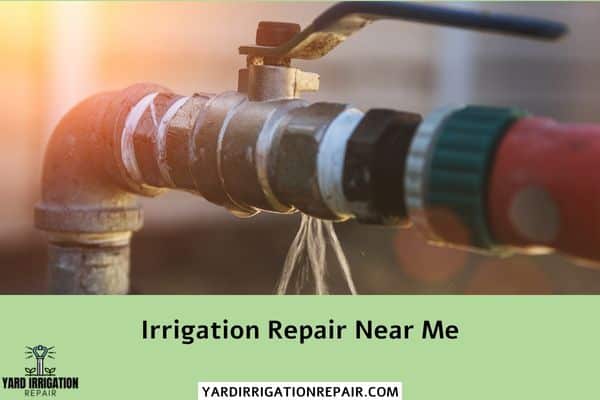
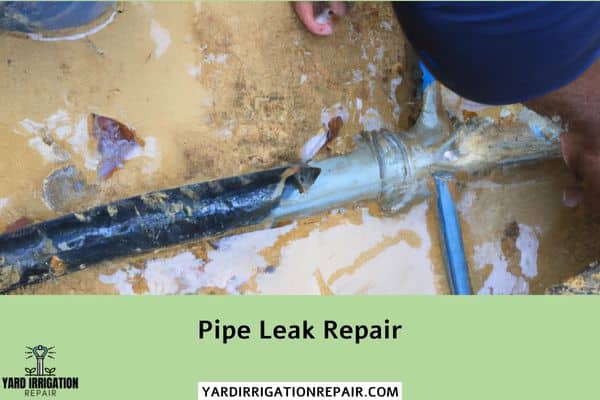
Pipe leak repair is a common plumbing issue, and when it comes to fixing it, using specialized tools and adhesives is necessary.

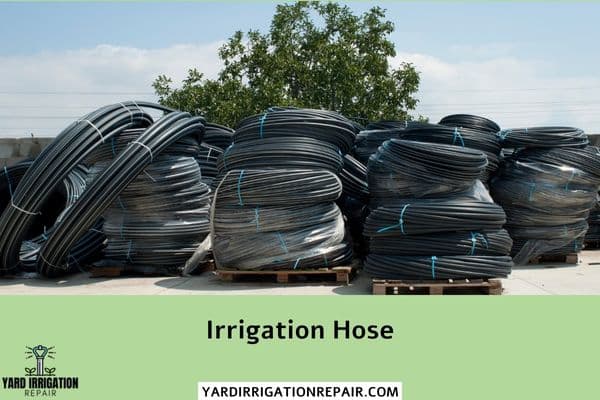
A great solution to replace any damaged piping is through the use of PEX tubing, copper piping, or PVC piping.

These pipes are durable and long-lasting, ensuring that your plumbing supply remains healthy and reliable.

Moreover, investing in high-quality materials for your plumbing needs is essential to avoid further leaks or damages.

So, if you’re noticing any issues with your pipes, replacing them with PEX tubing, copper piping, or PVC piping can be a great option.

By doing so, you’ll be investing in the long-term health of your plumbing system.

More Articles

Securely attach new fittings and hoses to the pipes with clamps if necessary.

When it comes to pipe leak repair, securely attaching new fittings and hoses to the pipes is crucial.

This not only ensures that the repair is effective, but also prevents any future leaks and damage.

Clamps are a great tool to use if necessary, as they provide added stability and security to the connections.

By taking the time to properly secure all fittings and hoses in the repair process, you can have peace of mind knowing that your pipes are in good hands for the long haul.

Pipe Leak Repair

Test your work by turning on the main water valve slowly and watching for any leaks in your repair job.

After spending a good amount of time fixing a pipe leak, it’s important to double-check your work before calling it a day.

To do so, turn on the main water valve slowly and keep a close eye on your repair job.

If it was done correctly, water should be flowing smoothly without any signs of leakage.

However, if you spot any dripping or spurting water, then your repair job needs more attention.

This simple test can save you from bigger problems down the road and ensure that your pipe leak repair was a success.

All in all, fixing a pipe leak involves a significant amount of effort and labor.

However, by following the proper steps, it is possible to make a successful repair that will last for many years to come.

If you are unsure of how to carry out these tasks, always consider hiring a professional plumber for help.

If you have already attempted the repairs but are still seeing signs of leaking, it may be time to inspect the pipes again.

In any case, taking the necessary preventive measures and acting swiftly can save homeowners time and money on repairs down the road.

Armed with this information about how to fix a pipe leak, we hope you now feel more prepared and confident tackling DIY plumbing projects in your home.

More Articles

Table of Contents

Subscribe
to our
blog updates

Articles you may like to read

Palm desert, California