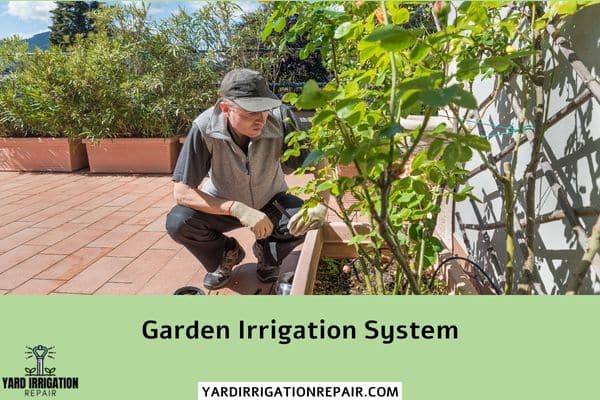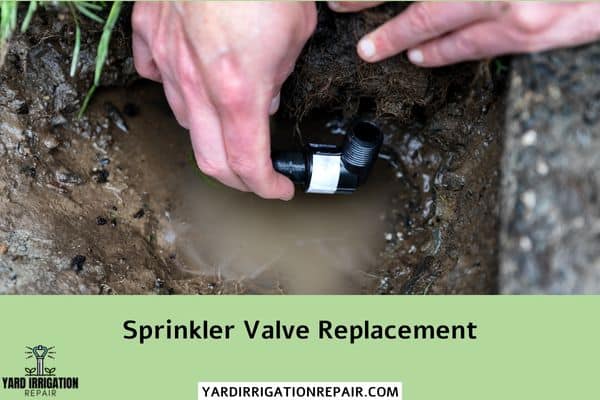
Replacing a sprinkler valve can be an intimidating task, especially if you’re new to waterworks maintenance. But there are plenty of advantages to doing it yourself: great cost savings, increased knowledge of your sprinkler system, and the satisfaction that comes with a job well done.
With the right tools and guidance, you’ll be able to replace your old or broken valves quickly and easily without having to call a professional. In this blog post we will cover everything related to valve replacement–from how to identify faulty valves to what type of valve is best for your needs—so no matter where you stand in the process, you’ll have all the info needed for successful sprinkler repair. Let’s get started!
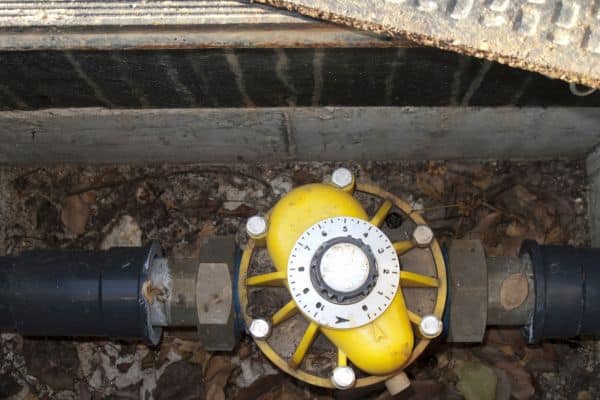
Understand the Basics of Sprinkler Valve Replacements
A malfunctioning sprinkler valve can be a real headache for any homeowner. Not only can it cause patchy lawn spots, but it can also drive up your water bill if left unchecked. However, understanding the basics of sprinkler valve replacement can save you time and money in the long run.
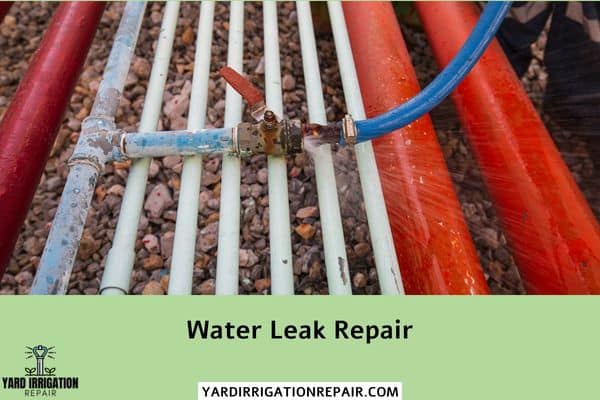
The first step is identifying the problematic valve, which can be done by looking for wet areas around the sprinklers or noticing a lack of water flow in certain zones. From there, turn off the water supply and replace the valve with a new one.
It may sound daunting, but with a little research and some basic tools, you can tackle this DIY project with confidence.
Leave contact details
Research the Different Types of Replacement Valves
Sprinkler systems are essential for keeping our lawns and gardens looking lush, but what happens when the valves in these systems fail? Replacement valves are the answer, but with so many different types on the market, it can be overwhelming to choose the right one. Some replacement valves are made of brass, while others are constructed from PVC.
Still, other options include automatic or manual models. It’s important to do your research to determine which type of valve best suits your needs and will provide the most effective replacement for your sprinkler system. Once you’ve found the right valve, you can rest assured that your lawn and garden will continue to thrive.
Select a Durable Valve to Ensure Long Lasting Performance
When it comes to selecting a durable valve for your sprinkler system, it’s important to consider the longevity of the product. A well-made valve can ensure years of reliable performance without the need for constant repairs or sprinkler valve replacement.
With so many options on the market, it can be overwhelming to choose the best one for your needs. However, by doing a bit of research and understanding the features that matter most, you can find a valve that will deliver long-lasting, trouble-free service and keep your lawn and garden looking beautiful.
Don’t settle for a lower-quality valve that will only cause frustration in the long run. Invest in a durable valve and enjoy the benefits for years to come.
More Articles
Identify Potential Areas That May Require Repair or Replacement
Our homes are complex structures that require regular maintenance to keep them functioning efficiently. While we may be able to see obvious signs of wear and tear, such as a leaky faucet or a cracked window, there are other areas that may require our attention.
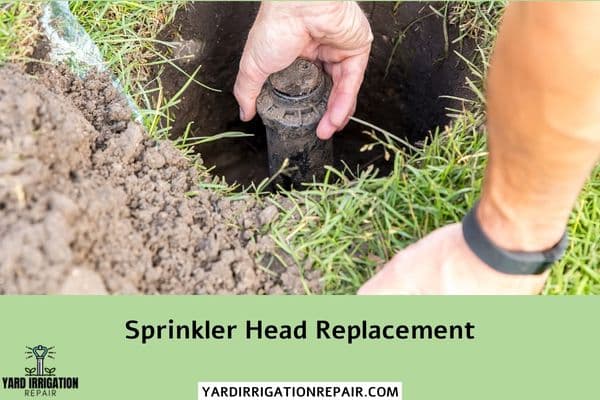
One such area is our sprinkler system, specifically the valve. Over time, the valve may become clogged with debris or fail to open and close properly. This can result in a poorly functioning system, wasting water and potentially damaging your lawn.
By identifying potential areas that may require repair or replacement, we can take proactive steps to ensure our homes remain in top condition.
Learn How to Properly Install and Maintain the New Valve
If you’re experiencing issues with your sprinkler system, it may be time for a sprinkler valve replacement. Installing and maintaining a new valve may seem daunting, but with the right tools and knowledge, it can be a simple process.
First, ensure that you have the correct replacement valve for your system. Next, turn off the water supply and cut the pipes to remove the old valve. Carefully fit the new valve into place and reattach the pipes.
Finally, turn the water supply back on and test the system to make sure everything is working properly. Regular maintenance of your sprinkler system can help prevent the need for future valve replacements. With a little bit of effort, you can ensure your lawn stays lush and green all season long.
Take Advantage of Professional Installation Services if Necessary
If you find yourself in need of a sprinkler valve replacement, it’s always worth considering hiring a professional to handle the job. While DIY projects can be fun and rewarding, plumbing work can quickly turn into a headache if you’re not experienced.
Professionals have the tools, know-how, and experience necessary to complete the job efficiently and effectively, saving you time and hassle in the long run. And, if something goes wrong during installation, you’ll have the peace of mind that comes with knowing that the professionals have got you covered.
So, don’t hesitate to take advantage of professional installation services if you need them when it comes to your sprinkler system.
Replacing a sprinkler valve is no simple task, but with the right information and the right tools, you can get it done in less time than you’d think. Once your valve replacement is complete, be sure to keep an eye out for potential areas of repair or replacement that may arise over time.
Additionally, don’t forget to install and maintain your new valve properly to ensure optimal performance and longevity. And if you ever find yourself in over your head during the process, don’t hesitate to call a professional for assistance.
That way, you can make sure the job is done right the first time. Now that you’ve been informed on the basics of sprinkler valve replacements, it’s time to take action and purchase or install the ideal valve for your property today!
FAQ
How often should sprinkler valves be replaced?
The length of time it takes to repair a sprinkler system can vary depending on the nature and complexity of the problem. Minor issues such as clogged nozzles or broken sprinkler heads can often be fixed within an hour or two. However, more significant problems such as damaged pipes or malfunctioning valves may take several hours to diagnose and repair. In some cases, if there are multiple issues or extensive damage, the repair process could take a day or longer.
It’s important to note that repairing a sprinkler system involves not only fixing the immediate issue but also ensuring that the entire system is functioning properly. This may require testing and adjusting other components of the system, which can add to the overall time it takes to complete the repair.
The best way to determine how long your particular sprinkler system repair will take is to contact a professional irrigation specialist who can assess the problem and provide an estimate for both time and cost. They will have experience dealing with different types of repairs and can give you a better idea of what to expect for your specific situation.
What are some signs that a sprinkler valve needs to be replaced?
The length of time it takes to repair a sprinkler system can vary depending on the nature and severity of the issue. In some cases, a simple repair such as replacing a damaged sprinkler head or fixing a clogged nozzle can be completed in just a few minutes. However, more complex problems like broken underground pipes or electrical issues may take several hours or even days to fix.
On average, most basic repairs can be completed within 1-2 hours, while larger repairs may take several days if specialized equipment or replacement parts need to be ordered. It’s also worth noting that factors such as the size of the system and its age can also impact repair times.
If you suspect an issue with your sprinkler system, it’s best to consult with a professional technician who can assess the problem and provide an estimate for how long the repair will take based on your specific situation.
Can a sprinkler valve be repaired instead of replaced?
The length of time it takes to repair a sprinkler system can vary depending on the specific issue being addressed and the complexity of the system. In general, a typical sprinkler system repair can take anywhere from a couple of hours to a full day or more.
For minor issues such as clogged nozzles or broken heads, the repair may only take an hour or two. However, for more extensive repairs such as fixing leaks in underground pipes or replacing damaged valves, it could take several hours or even a full day.
In some cases, multiple visits may be required if additional parts need to be ordered or if there are multiple issues that need to be addressed. It’s also worth noting that unforeseen complications may arise during the repair process which could potentially extend the time needed for repairs.
To get a better estimate of how long your specific sprinkler system repair will take, it’s best to consult with a professional irrigation specialist who can assess your system and provide you with an accurate timeline.
How long does it take to replace a sprinkler valve?
The length of a sprinkler system repair can vary depending on the extent of the damage and the expertise of the technician. However, typically, a simple repair such as replacing a broken sprinkler head or fixing a minor leak can take around 30 minutes to an hour.
More complex repairs, such as troubleshooting an electrical issue or repairing multiple faulty components, can take several hours. In some cases, if specialized parts need to be ordered or there are other unforeseen challenges, it may take longer for the repair to be completed.
Overall, it is best to consult with a professional irrigation specialist for an accurate estimate on how long your specific repair may take.
Are there any maintenance tips to prolong the life of a new sprinkler valve?
The length of time it takes to repair a sprinkler system can vary depending on the nature and extent of the repairs needed. On average, a typical sprinkler system repair can take anywhere from 2-6 hours.
The first step in any sprinkler system repair is to diagnose the problem. This involves troubleshooting and finding the exact source of the issue, which can take some time depending on how complex the system is.
Once the problem has been identified, repairs can usually be completed within an hour or two for minor issues such as fixing a broken head or adjusting spray patterns. However, more major repairs such as replacing valves or repairing leaks may take longer – up to several hours.
Factors that can impact the length of time for a sprinkler system repair include:
- Size and complexity of the system: Larger systems with more zones and components will generally take longer to repair than smaller systems.
- Type of damage: Some types of damage are easier to fix than others. For example, replacing a broken head is relatively simple compared to locating and repairing underground leaks.
- Accessibility: If certain parts of your sprinkler system are difficult to reach, this may add extra time to the repair process since technicians will need extra time and tools to access those areas.
- Availability of replacement parts: If your technician needs to replace any parts during the repair, they may need additional time if these parts are not readily available or need to be ordered from a supplier.
Overall, it’s best to allow at least half a day for most standard sprinkler system repairs in order for them to be completed thoroughly and effectively. However, minor issues may be resolved much quicker while major problems could require multiple visits from your technician over several days.